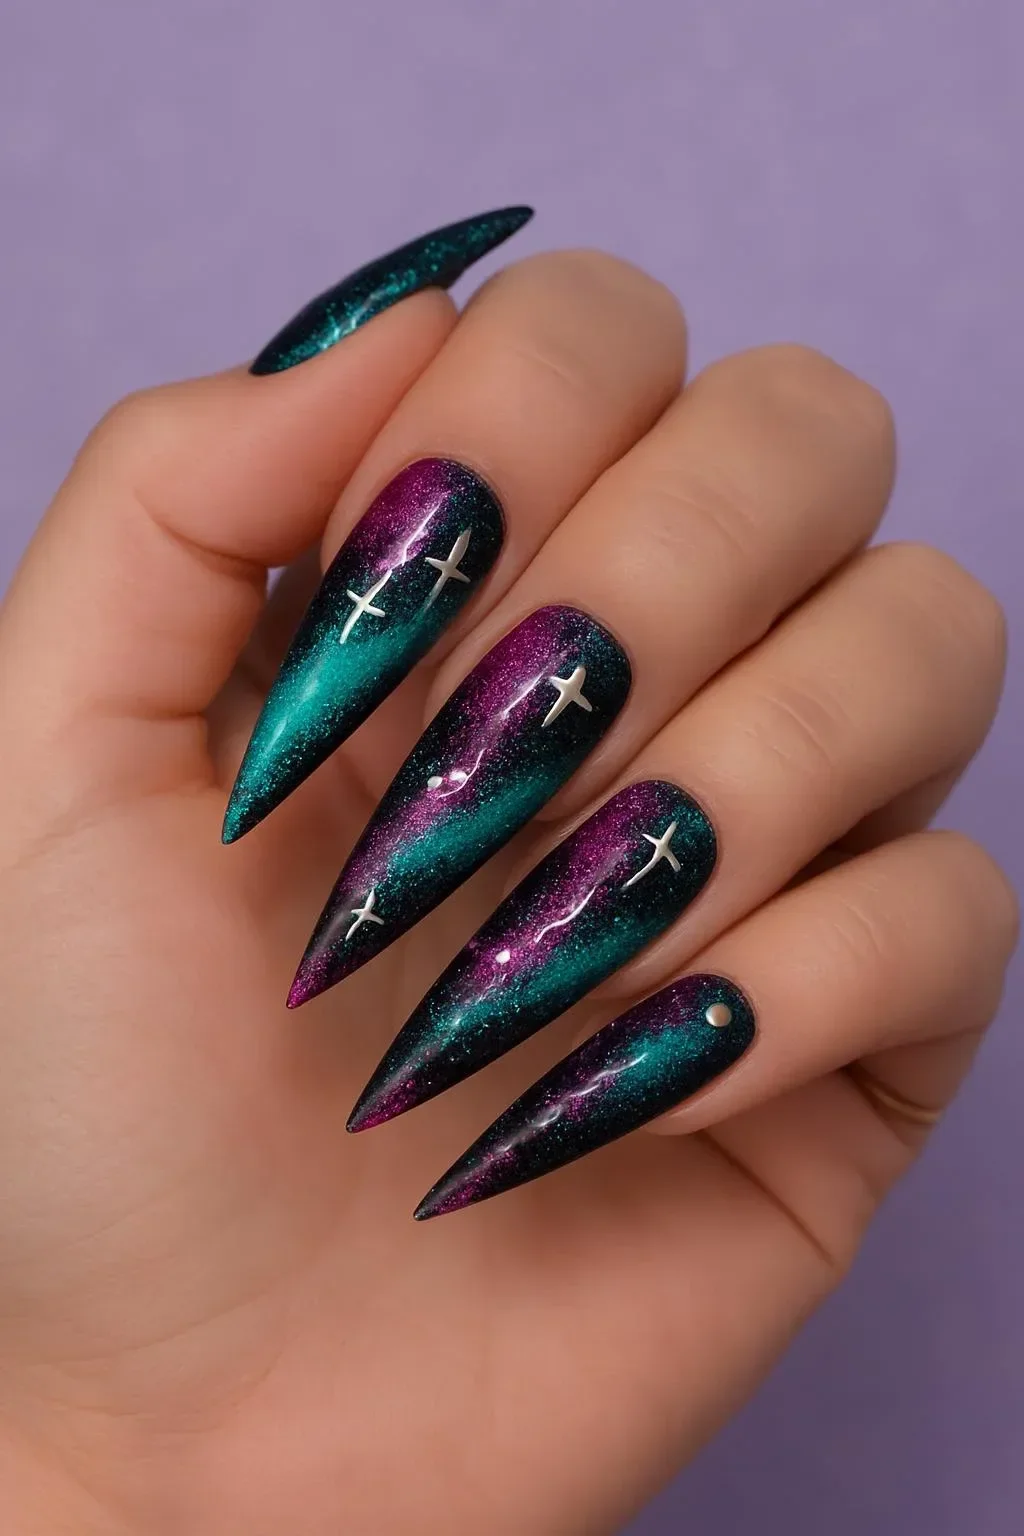
The Art of the Cat Eye: Essential Tips for Magnetizing Cat Eye Gels
When it comes to nail art, few styles have captured the imagination quite like the mesmerizing cat eye effect. This stunning look transforms your nails into a captivating blend of color and shimmer, evoking the elegance of feline slinkiness. If you’re eager to master the technique of using cat eye gels and achieve that flawless finish, here are essential tips that you MUST know.
Understanding Cat Eye Gels
Cat eye gels are formulated with magnetic particles that create a unique optical illusion when exposed to a magnet. This effect produces a dazzling line that shifts with the movement of light, resembling the eyes of a cat. Achieving this sophisticated look requires a few key techniques, and we’re here to guide you through them!
Tools You’ll Need
Before diving into the art of cat eye nails, gather your tools:
- Cat Eye Gel Polish: Choose colors that appeal to your style; darker shades often enhance the effect.
- Magnet Tool: A strong magnet is essential. There are various styles available, including straight, curved, and the innovative 3D magnet, which creates different patterns.
- Base and Top Coat: Never underestimate the power of a good base and top coat to protect your designs and enhance longevity.
- Nail Lamp: For curing your gel polish, a UV/LED lamp is necessary.
Step-by-Step Guide to Magnetizing Your Cat Eye Nails
1. Prep Your Nails
Begin with clean and dry nails. Shape your nails to your desired length and apply a base coat to protect your natural nails and help the gel adhere better.
2. Apply Cat Eye Gel
After curing the base coat, apply the cat eye gel polish. Make sure to apply it in a thin, even layer. You may need two coats for full pigmentation, but cure each layer under the lamp as directed.
3. Use the Magnet
Once your second coat is applied, take your magnet and hold it above your nail, keeping it about 1-2mm away. The magnetic particles in the gel will move toward the magnet, creating the iconic cat eye effect. Experiment with the positioning of the magnet to achieve different looks.
4. Cure and Seal
Cure your nail design under the UV/LED lamp according to the gel polish instructions. Once cured, finish with a top coat to seal in your design and provide a glossy finish. Remember to cure the top coat as well!
5. Final Touches
Once everything is properly cured, wipe your nails with a lint-free cloth and isopropyl alcohol to remove any sticky residue. Admire your stunning cat eye nails, and get ready to show them off!
Maintenance Tips
To keep your cat eye nails looking perfect:
- Avoid using them as tools to prevent chipping.
- Regularly moisturize your cuticles to maintain healthy nails.
- Schedule fills or maintenance every few weeks, depending on your nail growth.
Conclusion
Creating cat eye nails is a beautiful way to express your style and creativity. With these essential tips in hand, you can achieve that perfect cat eye effect every time. Remember, practice makes perfect! So gather your tools, unleash your inner artist, and get ready to wow everyone with your chic and stylish cat eye nails.
With the right approach and a bit of creativity, you’ll soon be sharing your nail art videos and tutorials on social media, gaining admiration for your skills. Happy magnetizing! 🧲✨💅
Feel free to leave a comment below if you have any tips of your own or if you’ve tried this technique!