
Beautiful Floral Easter Nail Design
As Easter approaches, many of us look forward to celebrating the holiday with vibrant decorations, festive gatherings, and of course, stunning nail art! This year, why not elevate your Easter celebrations with a beautiful floral nail design that embodies the essence of spring? In this article, we’ll explore the ins and outs of creating charming floral Easter nails that are sure to impress.
Why Floral Designs for Easter?
Easter is synonymous with renewal, rebirth, and the beauty of springtime. Floral designs reflect the blossoming flowers and the lively colors that fill our surroundings during this season. Incorporating floral patterns into your nail art not only welcomes the spirit of Easter but also adds a playful touch to your overall look.
Choosing Your Colors
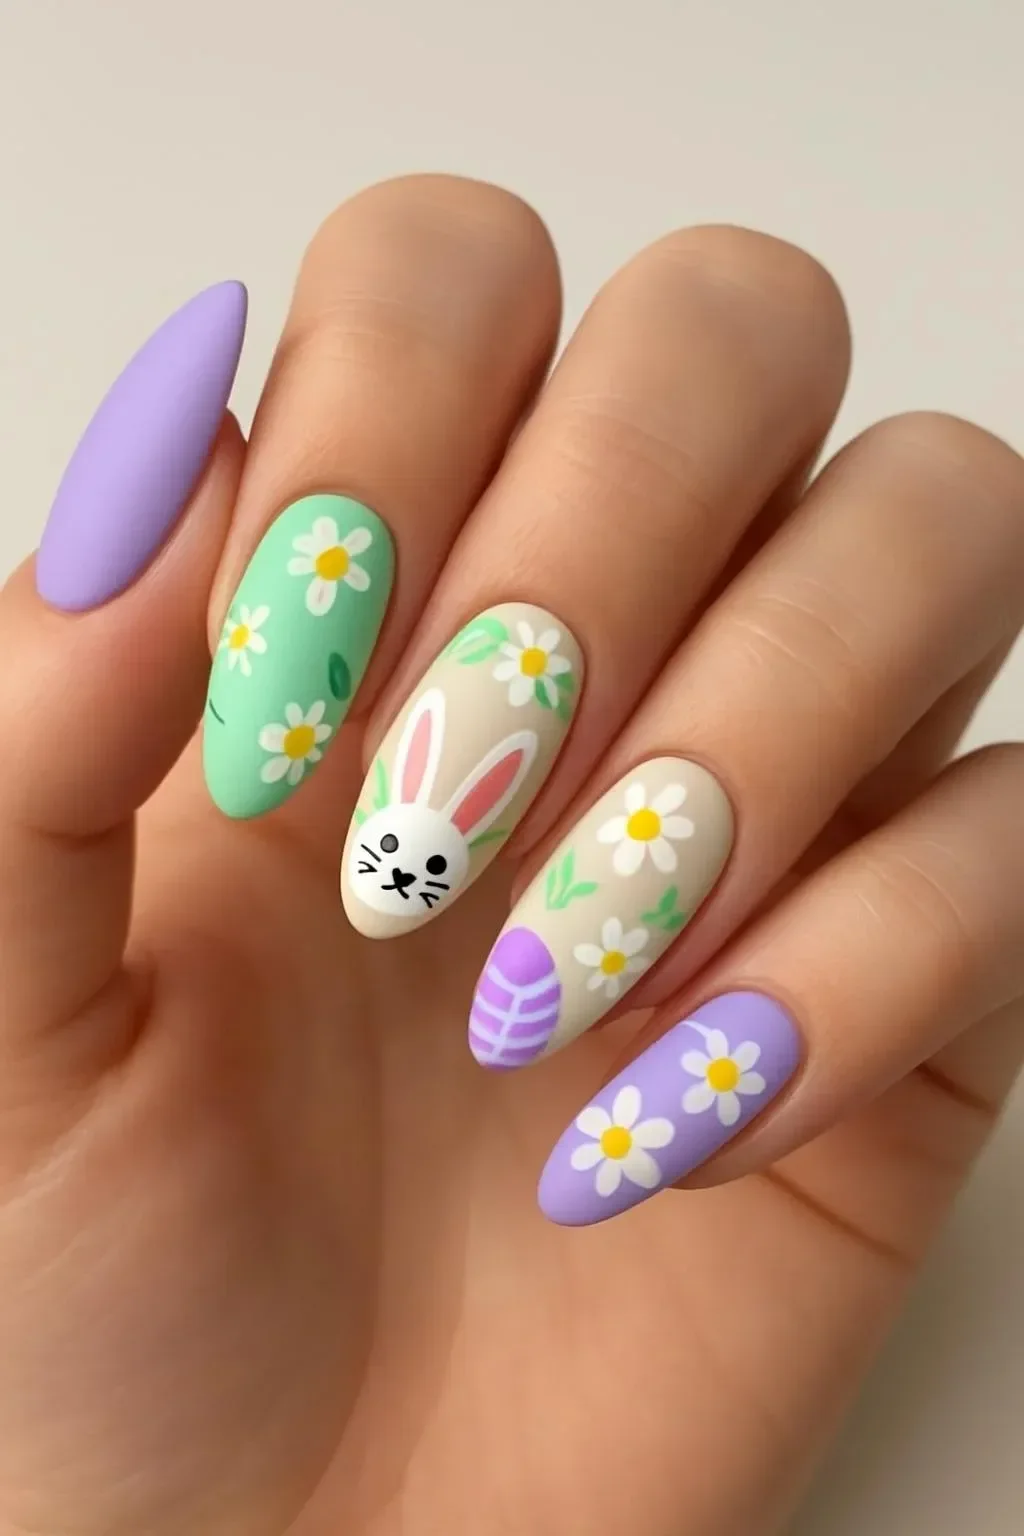
The first step in creating a beautiful floral Easter nail design is selecting the right colors. Pastels often dominate Easter palettes, so consider using soft shades like:
- Pale Pink
- Lavender
- Mint Green
- Baby Blue
- Soft Yellow
Mixing these delicate hues can create an eye-catching yet understated look, perfect for the holiday.
Nail Preparation
Before diving into your artistic creation, proper nail preparation is essential:
- Clean Your Nails: Remove any existing polish and ensure your nails are clean and dry.
- File and Shape: Trim and shape your nails to your desired length and style. Almond or oval shapes work beautifully for floral designs.
- Base Coat: Apply a clear base coat to protect your nails and ensure a smooth canvas for your art.
Step-by-Step Floral Easter Design
Here’s a simple guide to creating your floral Easter nail design:
Step 1: Base Color Application
Choose a pastel color as your base coat. Apply two coats for even coverage, allowing each coat to dry completely.
Step 2: Create Floral Patterns
Using a fine nail brush or dotting tool, you can start to add floral designs. Here’s how to create a simple flower:
- Petals: Use your chosen pastel colors to create small petal shapes in circular motions around a central point, forming a flower. You can mix and match colors for different flowers.
- Center: Add a dot of a contrasting color in the center of the flower, like yellow or white, to make it pop.
- Leaves: Draw small green leaves coming out from the flower for added detail.
Step 3: Add Accents
For a more festive look, consider adding some accent nails. This could be a single nail on each hand featuring a more intricate design, like a bouquet or even small Easter eggs nestled among the flowers.
Step 4: Top Coat
Once your design is complete, seal in your artwork with a high-shine top coat. This not only enhances the beauty of your design but also provides added durability.
Care and Maintenance
To keep your beautiful floral Easter nails looking fresh, consider the following tips:
- Avoid Harsh Chemicals: Wear gloves while cleaning to prevent chipping.
- Moisturize: Keep your hands and cuticles hydrated with hand cream or cuticle oil.
Conclusion
Creating a beautiful floral Easter nail design is a delightful way to celebrate the season. With a bit of creativity and the right tools, you can sport a fun and festive look that embodies the spirit of Easter. Whether you choose to go full floral or keep it subtle, your nails are sure to shine this spring!
Happy Easter, and happy nail designing! 🌼💅